
Looking for an easy to make, inexpensive, unique but useful gift for the holidays? How about a hands-free water bottle carrier! In my job leading school kids through living history museums, I truly rely on this handy carrier. Water is quickly available to get my voice back in action, no fuss with backpacks or fanny packs. My hands are almost immediately free to get busy with the next part of my presentation! The open bottom means that even if the straps get wet (condensation), everything dries quickly. Sometimes I don't even take it out of the carrier to refill it! Many of my co-workers asked if I could make them one, so I thought I'd go ahead and post how I did it here. Hopefully someone else will find it useful, too!
Materials
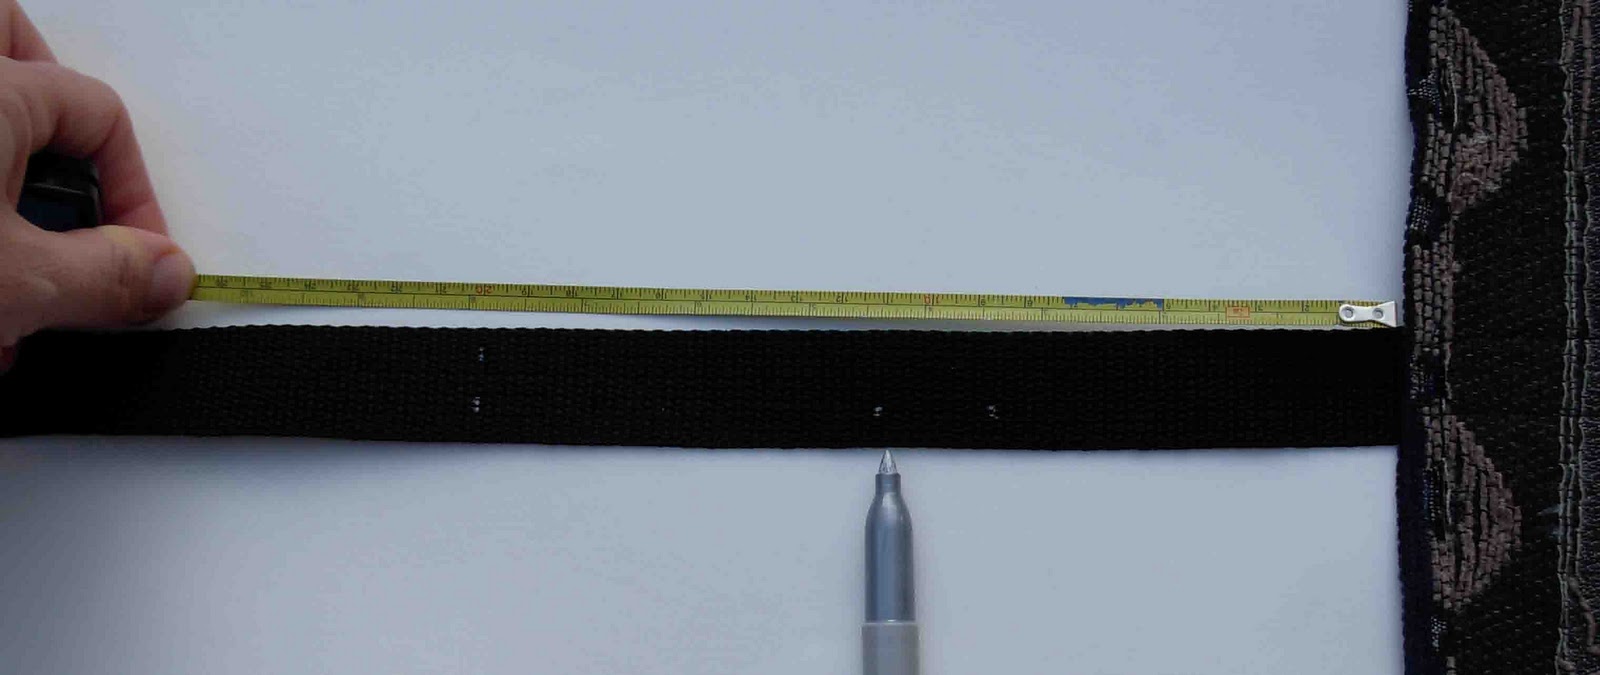
2 yards, 1" webbing
scrap of thick fabric in attractive design for bottle snuggy
1" wide strap adjuster
silver Sharpie (or other utensil for marking on dark fabrics)
measuring tape or ruler
sewing machine or just needle and thread
scissors
dab of tacky glue
silver Sharpie (or other utensil for marking on dark fabrics)
measuring tape or ruler
sewing machine or just needle and thread
scissors
dab of tacky glue
Tutorial
1) Cut 8 inches of webbing off the 2 yard piece for the bottom cross strap.
2) Use a match to carefully melt the ends of the webbing to prevent them from fraying.
3) Prepare the shoulder strap by sewing a strap adjuster on one end of the long piece of webbing.
 |
| Slide a strap adjuster onto the long piece of 1" webbing. |
 |
| Sew strap adjuster on tightly. |
 |
| Cut into a length that fits around your water bottle and hem sides (back view). |
 |
| (front view of bottle snuggy) |
5) Attach the snuggy to the shoulder strap.
 |
| Align the shoulder strap on the snuggy so that the edge of the snuggy meets the edge of the folded-over webbing. Aim for middle of the snuggy, but it doesn't have to be measured/perfect. Be careful to get the webbing aligned right (perpendicular to snuggy) or it will be crooked like mine! Eeek! |
6) Attach cross strap to shoulder strap.
 |
| With your measuring tape at the edge of the snuggy, make slight marks at 3.5" and 4.5" (the 1" middle space for the cross strap to go). Make another mark at 8" (where the other end of the snuggy will attach). |
 |
| Fold the 8" cross strap in two. Mark 0.5" down from fold on each side to identify the 1" section to overlay on the shoulder strap. |
 |
| Align the cross strap onto the shoulder strap and sew tightly. |
 |
| Fold shoulder strap over, on top of snuggy and other end of strap until the 8" mark aligns with bottom edge of snuggy. |
 |
| Bring one side of the snuggy over and align with 8"mark, |
 |
| then bring other side over and align with 8" mark, too. Picture the water bottle fitting into the snuggy at this point and wiggle the overlap of the fabric edges to webbing so that the fabric length is similar on both sides. I used a little tacky glue to hold the edges in place for sewing. You have to let it dry, of course, but the time cost was well worth the trouble of holding it steady for the tricky sewing part. |
 |
| All sewn together, magic! It is a bit tricky here because the snuggy opening was too narrow to fit around the arm of my sewing machine. It took a little extra time and patience to maneuver it through the machine. |
 |
| Flatten the snuggy together so that the straps overlap, then make a small mark on both sides of the bottom edge of the snuggy. This is an easy way to identify the midpoint of the snuggy for attaching the cross strap. |
 |
| Fold the cross strap in half just at the edge, lengthwise, to identify its midpoint. Mark the spot. Now you can align the mark on the cross strap with the mark on the snuggy under your sewing machine's pressure foot to get a perfectly centered cross strap! |
 |
| With one side complete, there's just the other side to go.... |
 |
| Whala! Cross strap attached! |
10) Insert shoulder strap into strap adjuster and try on for a personalized fit!

I've linked here!! Thanks for the fun!


That looks great! - saw you on linky party and now gfc following you, Karima www.karimascrafts.com
ReplyDelete